How to create a button programmatically in iOS Swift 4 :
Sometimes, we need to create UI elements programmatically in iOS projects. Creating elements dynamically has many advantage and disadvantages. We are not going to discuss that today. In this tutorial, we will learn how to create one UIButton programmatically. We will also learn how to add properties to the button, like adding a title, changing the color of the button etc. Let’s take a look :
Create a simple button :
Open XCode and create one SingleView iOS application. Give the project a name and select swift as the programming language. Now, open ViewController.swift file. We will add the code inside viewDidLoad() method. This method is called after loading the view. So, any UI related changes should be done inside it. Add the following code after super.viewDidLoad() line :
//1
let buttonX = 150
let buttonY = 150
let buttonWidth = 100
let buttonHeight = 50

//2
let button = UIButton(type: .system)

//3
button.frame = CGRect(x: buttonX, y: buttonY, width: buttonWidth, height: buttonHeight)

//4
self.view.addSubview(button)
Explanation :
The commented numbers in the above program denote the step number below :
- First of all, define the x position,y position, height and width of the button we will create.
- Create one UIButton object and assign it to the button variable.
- Add frame to this variable by creating a CGRect using the values we have defined.
- Finally, add this button the view.
If you run the program, it will produce output like below :
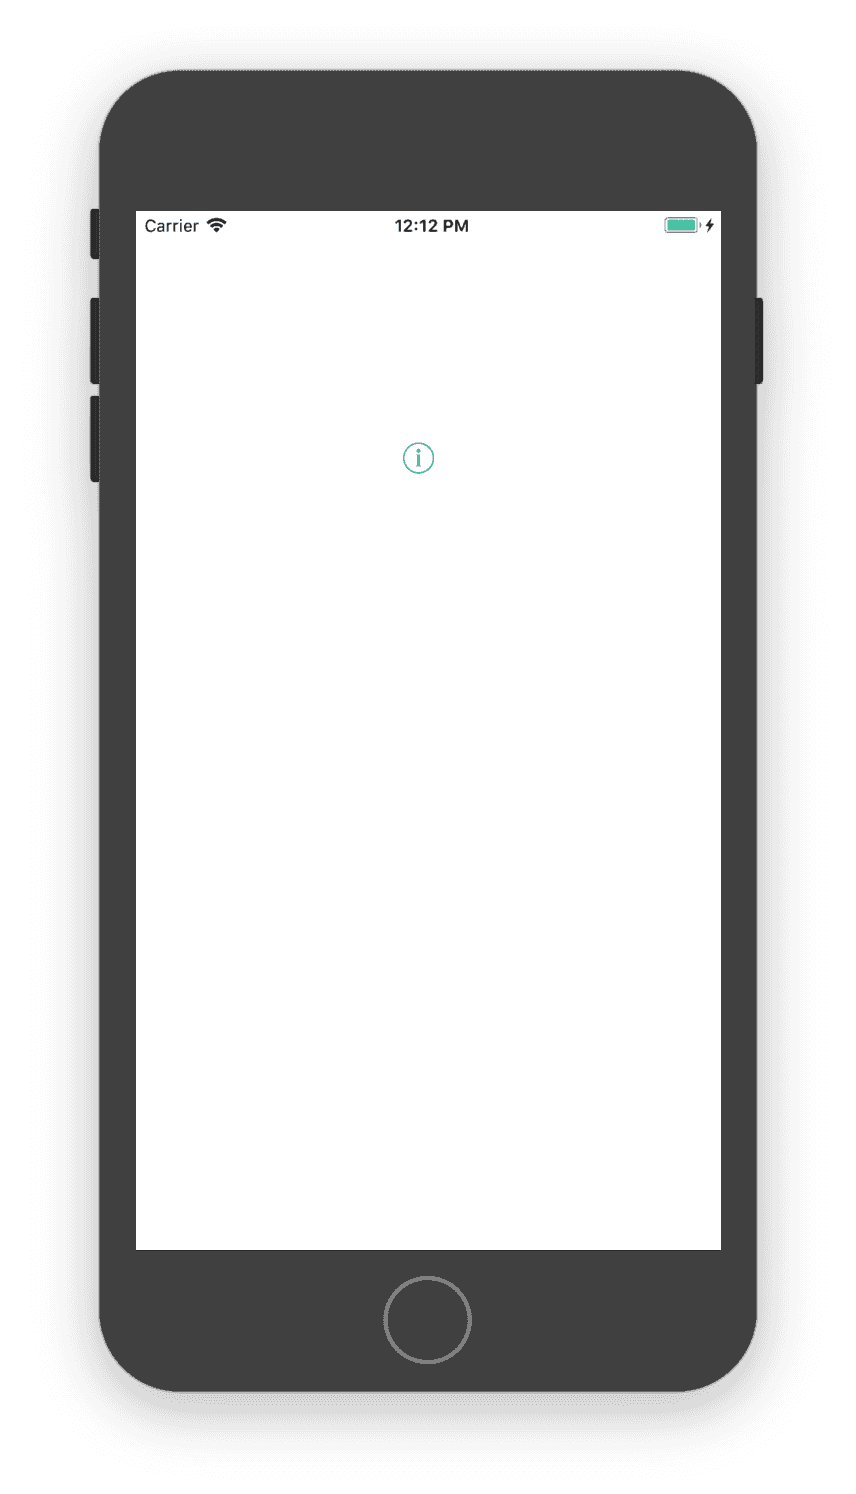
Oops !! It is not showing anything on the screen. The reason is we have not added any text or any color to the button. The type of the button is system. Let’s try to change it to infoDark by changing the line as below :
let button = UIButton(type: .infoDark)

import UIKit

class ViewController: UIViewController {

    override func viewDidLoad() {
        super.viewDidLoad()

        let buttonX = 150
        let buttonY = 150
        let buttonWidth = 100
        let buttonHeight = 50

        let button = UIButton(type: .system)
        button.setTitle("Click here", for: .normal)
        button.tintColor = .white
        button.backgroundColor = .red
        button.addTarget(self, action: #selector(buttonClicked), for: .touchUpInside)

        button.frame = CGRect(x: buttonX, y: buttonY, width: buttonWidth, height: buttonHeight)

        self.view.addSubview(button)
    }

    @objc func buttonClicked(sender : UIButton){
        let alert = UIAlertController(title: "Clicked", message: "You have clicked on the button", preferredStyle: .alert)

        self.present(alert, animated: true, completion: nil)
    }

    override func didReceiveMemoryWarning() {
        super.didReceiveMemoryWarning()
        // Dispose of any resources that can be recreated.
    }


}
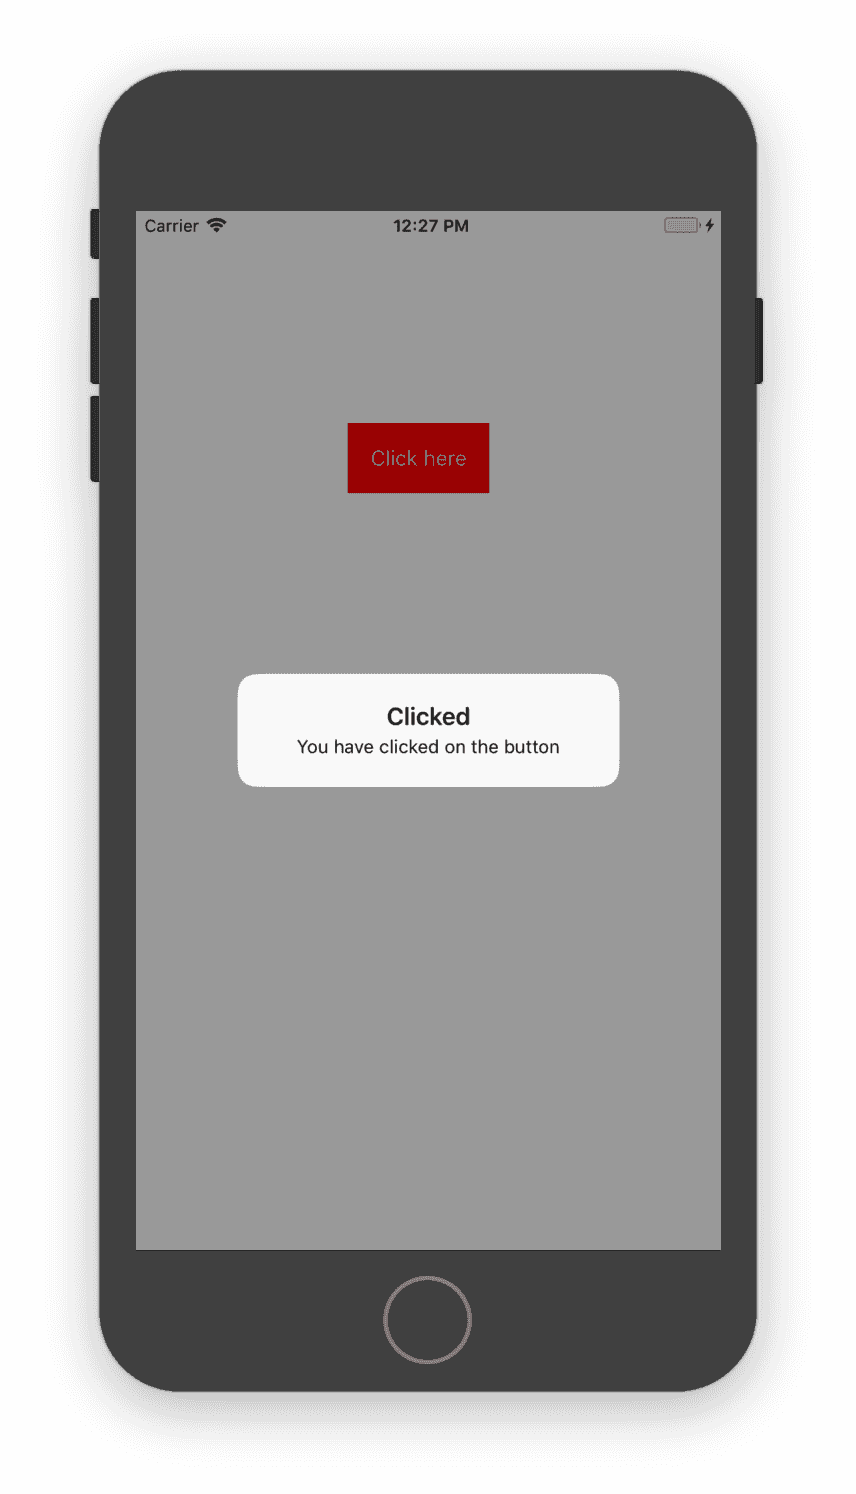
If you run this program, it will give you the below output :


Conclusion :
In this tutorial, we have learnt how to create a custom button in iOS using swift. Try the above program and create different types of buttons by changing the type of the button. If you have any queries, drop a comment below.
You might also like :

