How to create a Floating Action Button in Flutter:
Floating action button, also known as FAB in short is used to create a floating button in material design applications. This is a button that is placed always on above other views. It is useful in may scenarios, for example, if we have a list of cards and we want a button to create a new card, we can use a Floating action button because even if the cards scrolls, the button will not scroll. Floating action buttons are used for positive actions like create post, start navigation, send message etc.
Creating a Floating action button in Flutter is easy and we can use FloatingActionButton class to create one. In this post, I will show you how we can use FloatingActionButton class to create a floating action button in Flutter.
Creating the project:
For this example, I am using the basic project that we can create using flutter cli. Open a terminal and use the below command to create one:
flutter create myappIt will create one new folder myapp with a starter flutter project.
Open that folder in your favourite editor. Open the file in lib/main.dart and change the code as like below:
import 'package:flutter/material.dart';
void main() {
runApp(MyApp());
}
class MyApp extends StatelessWidget {
// This widget is the root of your application.
Widget build(BuildContext context) {
return MaterialApp(
title: 'Flutter Demo',
theme: ThemeData(
primarySwatch: Colors.blue,
),
home: MyHomePage(),
);
}
}
class MyHomePage extends StatelessWidget {
Widget build(BuildContext context) {
return Scaffold(
appBar: AppBar(
title: const Text('FAB Example'),
),
body: Center(child: const Text('Example of FAB')),
floatingActionButton: FloatingActionButton(
onPressed: () {},
child: Icon(Icons.add_a_photo),
backgroundColor: Colors.red,
),
);
}
}Here,
- MyHomePage is a StatelessWidget class. Inside this class, we are adding one floating action button.
- FloatingActionButton class is used to create the floating action button.
- onPressed is called on clicking the button.
- child is the icon that we are showing in the button. and backgroundColor is the color for the button.
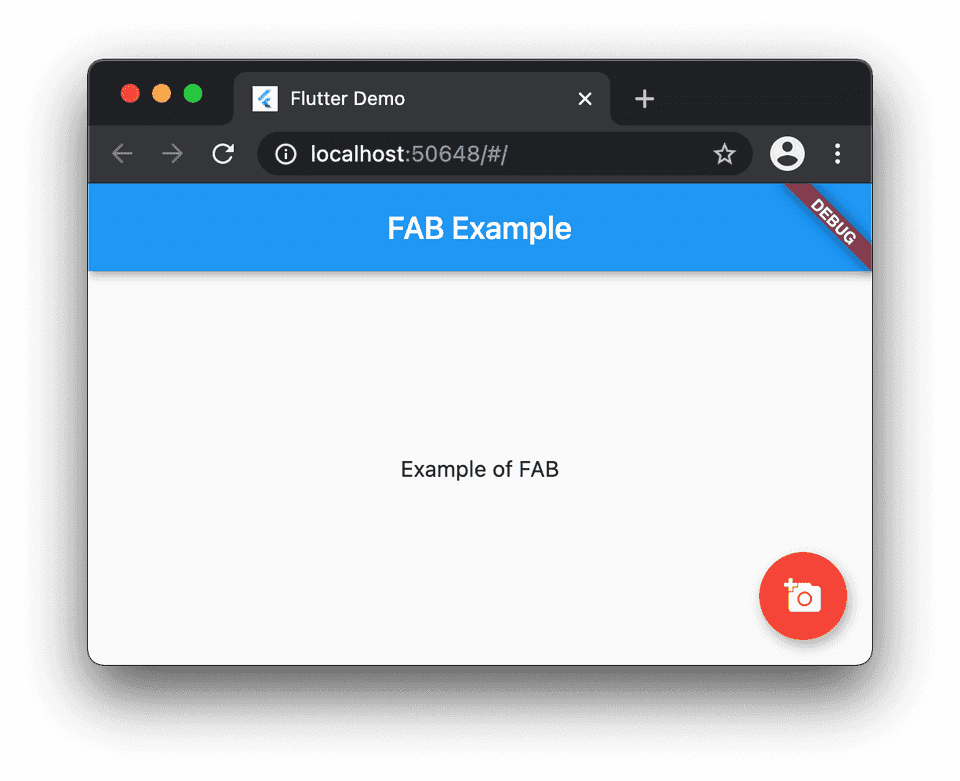
Run the application using flutter run. It will produce an output as like below:
It is running on chrome, but you will see similar output on android or ios device.
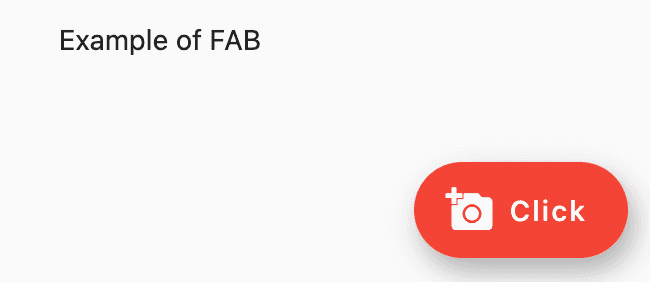
This button is easily customizable using its different properties as like below:
class MyHomePage extends StatelessWidget {
Widget build(BuildContext context) {
return Scaffold(
appBar: AppBar(
title: const Text('FAB Example'),
),
body: Center(child: const Text('Example of FAB')),
floatingActionButton: FloatingActionButton.extended(
onPressed: () {},
icon: Icon(Icons.add_a_photo),
backgroundColor: Colors.red,
focusColor: Colors.grey,
label: Text('Click'),
elevation: 10,
),
);
}
}It will change the above button to :


