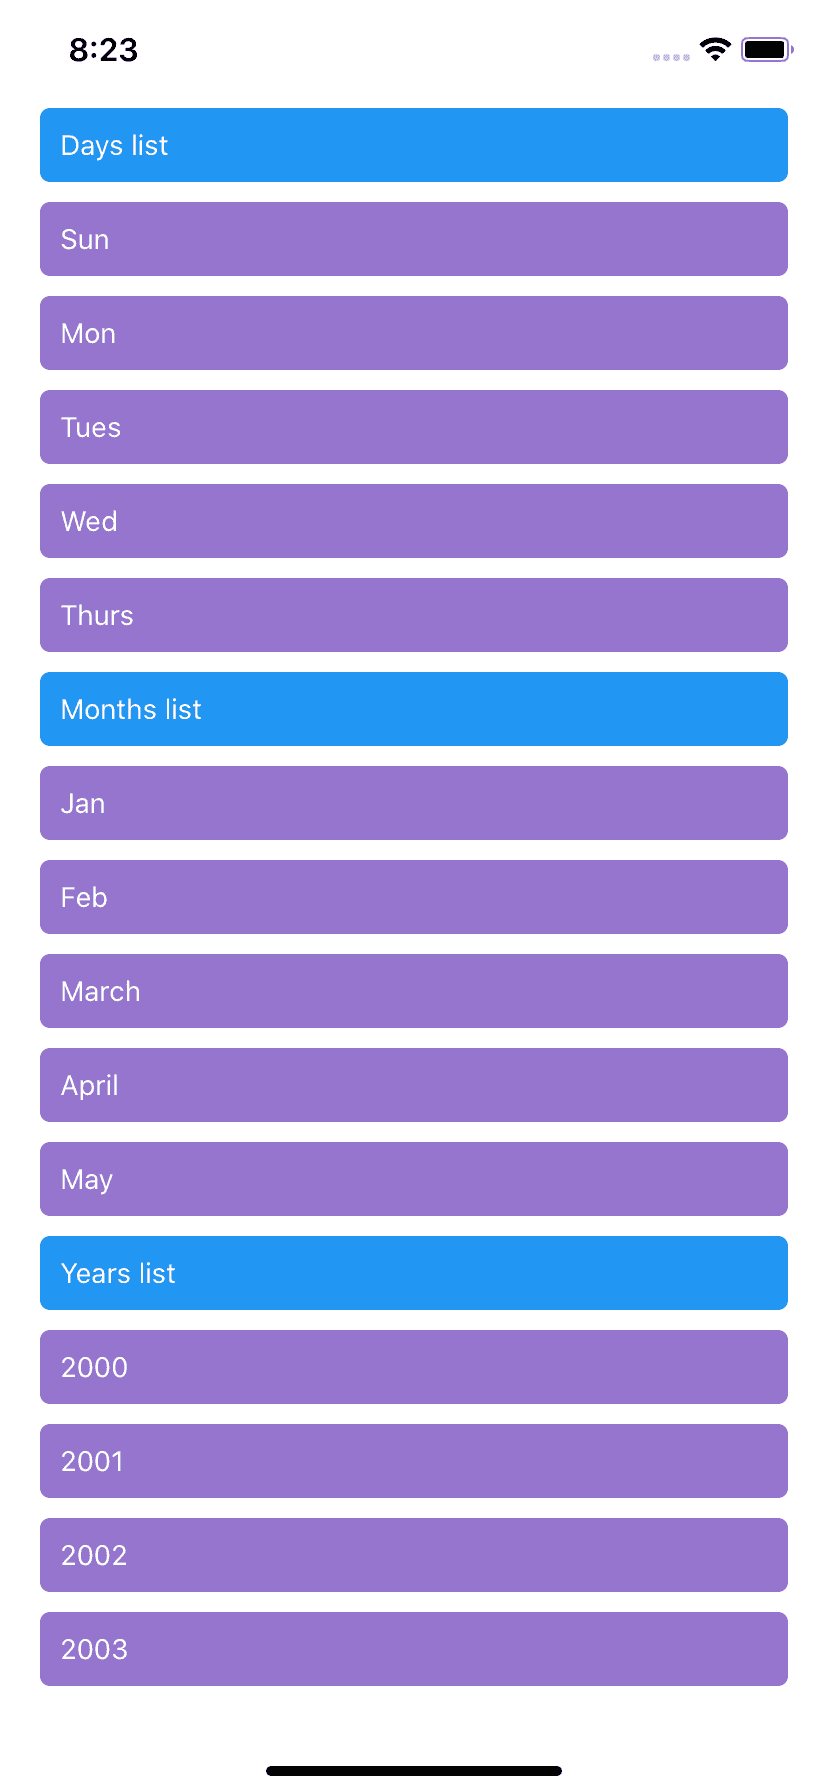
SectionList in react-native :
SectionList in react-native is similar to FlatList. The only difference is that FlatList is a simple list but SectionList is a list with sections. The list is divided into different sections with a header for each section.
It is not easy to create one list with subsections and headers. SectionList makes it easy for us. In this tutorial, I will show you how to create one SectionList with an example.
Create one react native project :
Create one basic react native project to start with. Use the below command to do that :
npx react-native init <project_name>It will create one react native project. App.js is the entry point of this project. You can edit this file and run it on an Android or iOS device to see the changes.
Use any of the below commands to run it :
npx react-native run-android
npx react-native run-ios
Update App.js file :
Update the App.js file as like below :
import React from 'react';
import {StyleSheet, View, Text, SectionList, SafeAreaView} from 'react-native';

const LISTDATA = [
  {
    title: 'Days list',
    data: ['Sun', 'Mon', 'Tues', 'Wed', 'Thurs'],
  },
  {
    title: 'Months list',
    data: ['Jan', 'Feb', 'March', 'April', 'May'],
  },
  {
    title: 'Years list',
    data: [2000, 2001, 2002, 2003],
  },
];

const ListItem = ({item}) => {
  return (
    <View style={styles.listItem}>
      <Text style={styles.listText}>{item}</Text>
    </View>
  );
};

const ListHeader = ({item}) => {
  return (
    <View style={styles.listHeader}>
      <Text style={styles.listHeaderText}>{item.title}</Text>
    </View>
  );
};

const App = () => {
  return (
    <SafeAreaView style={styles.parentView}>
      <SectionList
        style={styles.list}
        sections={LISTDATA}
        keyExtractor={(item, index) => item + index}
        renderItem={({item}) => <ListItem item={item} />}
        renderSectionHeader={({section}) => <ListHeader item={section} />}
      />
    </SafeAreaView>
  );
};

const styles = StyleSheet.create({
  parentView: {
    flex: 1,
    justifyContent: 'center',
    alignItems: 'center',
    marginTop: 22,
  },
  list: {
    width: '100%',
  },
  listText: {
    color: 'white',
  },
  listHeaderText: {
    color: 'white',
  },
  listItem: {
    flex: 1,
    marginRight: 20,
    marginLeft: 20,
    marginTop: 10,
    backgroundColor: '#9575cd',
    padding: 10,
    borderRadius: 5,
  },
  listHeader: {
    flex: 1,
    marginRight: 20,
    marginLeft: 20,
    marginTop: 10,
    backgroundColor: '#2196f3',
    padding: 10,
    borderRadius: 5,
  },
});

export default App;
Explanation :
-
LISTDATA is an array of objects. Each object has one title and one data array. If we pass this array to a SectionList, it will create one section for each one of these objects with title as section title and data as section items.
-
ListItem is to show one list item and ListHeader is to show one list header.
-
SectionList component is used to load a section list. Here, sections are the data to render. Each item needs to have a unique key. keyExtractor is to extract a unique key for the item. renderItem is a function, default renderer for each item in the list, and renderSectionHeader is the renderer for each header.
Output :
Run this program. It will look as like below on iOS simulator :

