3 ways to create platform-specific designs in React Native:
React native provides an easy way to add platform-specific code. We can execute different code for Android and iOS. We can also create different stylesheets for different platforms.
In this post, I will show you 3 different ways to write platform-specific code. Note that this post is for mobile devices, i.e. I will show you how to write platform-specific code Android and iOS devices.
Method 1: Platform module:
Platform is an inbuilt module in React native. We can use this to determine if the current running device is Android or iOS.
We can check the Platform.OS property to know whether it is Android or iOS. It is defined as like below:
static Platform.OSIt returns a string defining the current OS. It can be android or ios.
For example,
import React from 'react';
import {SafeAreaView, StyleSheet, View, Platform} from 'react-native';

const App = () => {
  return (
    <SafeAreaView>
      <View style={styles.container} />
    </SafeAreaView>
  );
};

const styles = StyleSheet.create({
  container: {
    alignSelf: 'center',
    width: 40,
    height: 40,
    backgroundColor: Platform.OS === 'ios' ? 'red' : 'blue',
  },
});

export default App;
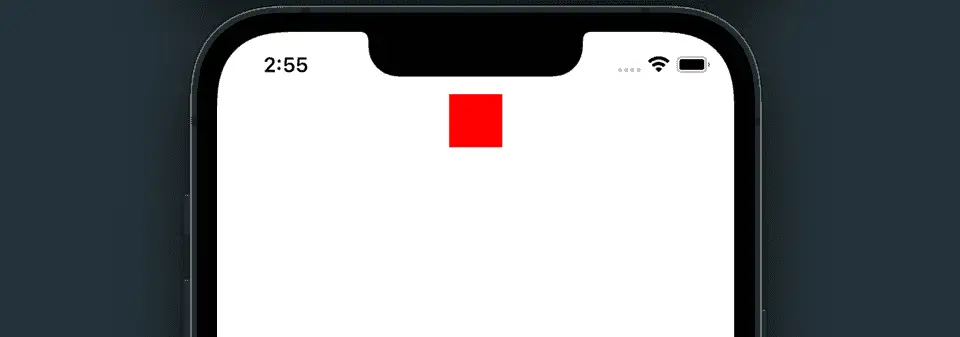
It will create red square view in iOS and blue square view in Android.
Method 2: By using Platform.select method:
Platform.select is a static method defined as like below:
static select(config: object): anyWe need to pass the config parameter, which is an object with the following keys:
- android (any)
- ios (any)
- native (any)
- default (any)
For an application running on a phone, it will choose either android or ios key. Else, it will check for native key and then default key.
ios and android take preference over native.
We can use it to create different styles for different platforms as like below:
import React from 'react';
import {SafeAreaView, StyleSheet, View, Platform} from 'react-native';

const App = () => {
  return (
    <SafeAreaView>
      <View style={styles.container} />
    </SafeAreaView>
  );
};

const styles = StyleSheet.create({
  container: {
    alignSelf: 'center',
    width: 40,
    height: 40,
    ...Platform.select({
      ios: {
        backgroundColor: 'green',
      },
      android: {
        backgroundColor: 'blue',
      },
    }),
  },
});

export default App;
This will draw a green square in iOS device and a blue square in Android device.
Platform.select with different components:
Platform.select can be used to select different components based on the current platform:
const Square = Platform.select({
  ios: () => require('RedSquare'),
  android: () => require('BlueSquare'),
})();

const App = () => {
  return (
    <SafeAreaView>
      <Square />
    </SafeAreaView>
  );
};
It will render different views based on the current platform.
Method 3: Platform specific files:
We can create similar files with .android.js and .ios.js extensions to write different code for different platforms. React native will automatically pick that file. Let me show you an example:
Create one file Square.ios.js:
import React from 'react';
import {StyleSheet, View} from 'react-native';

const Square = () => {
  return <View style={styles.blueSquare} />;
};

const styles = StyleSheet.create({
  blueSquare: {
    alignSelf: 'center',
    width: 40,
    height: 40,
    backgroundColor: 'green',
  },
});

export default Square;
and another file Square.android.js:
import React from 'react';
import {StyleSheet, View} from 'react-native';

const Square = () => {
  return <View style={styles.redSquare} />;
};

const styles = StyleSheet.create({
  redSquare: {
    alignSelf: 'center',
    width: 40,
    height: 40,
    backgroundColor: 'red',
  },
});

export default Square;
We can now use these components in any other files:
import React from 'react';
import {SafeAreaView} from 'react-native';
import Square from './Square';

const App = () => {
  return (
    <SafeAreaView>
      <Square />
    </SafeAreaView>
  );
};

export default App;
It will load different components for android and ios. This is the best way as it separates the files. The drawback is that if you have some common code, you have to duplicate it in both files. This approach is useful for view components.
You might also like:
- Handling keyboard with react-native ScrollView
- How to show pdf files in react native applications
- How to add scroll to top to a FlatList in ReactNative app
- How to change the background color of a View dynamically in React Native
- How to read platform-specific values in React Native
- How to use SVG or vector images in React native


